
Visual Reference: User Guide
Dream Machine's Reference mode is an enigma to some and a daily go-to for others, so it’s time to lift the fog and show why this feature deserves a spot as your new secret weapon.
Here's a quick guide for using Reference mode to change a character's background, attributes, camera angle, etc.
Currently available to all subscribers.
1️⃣ Switch to Reference Mode
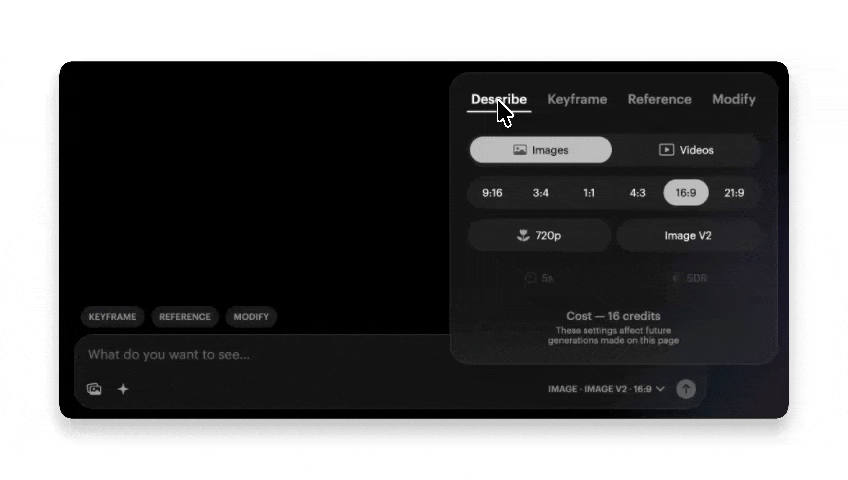
In your settings panel click on Reference
———————————————
2️⃣ Select Image V2
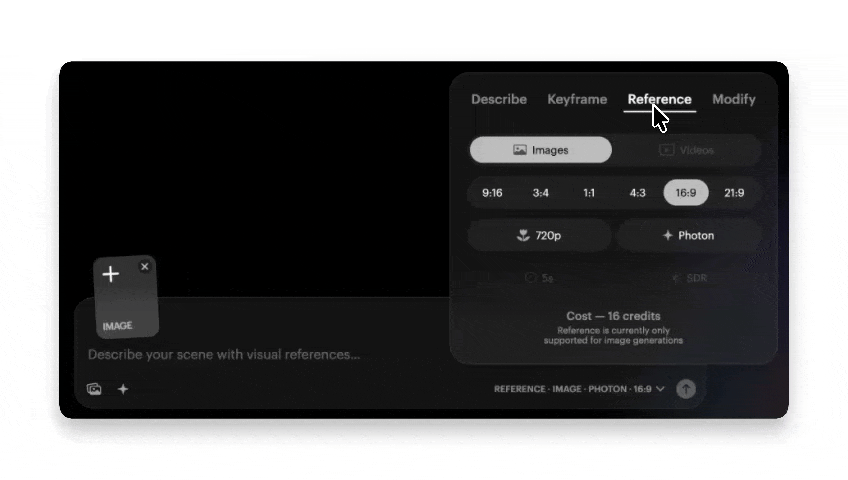
Once in Reference mode, select Image V2 as your working model, it currently defaults to Photon so make sure to change it to Image V2 before you start so you can use the latest model.
———————————————
3️⃣ Upload Your Reference Image(s)
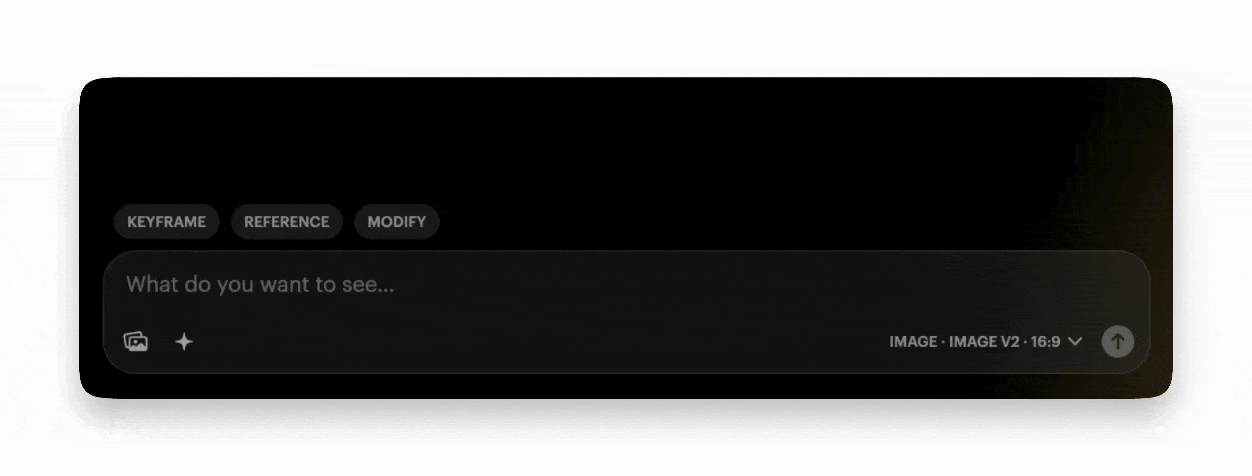
Click to upload (or drag and drop) an image into your composer window that shows a single character or object. The more clear and visible your subject, the better.
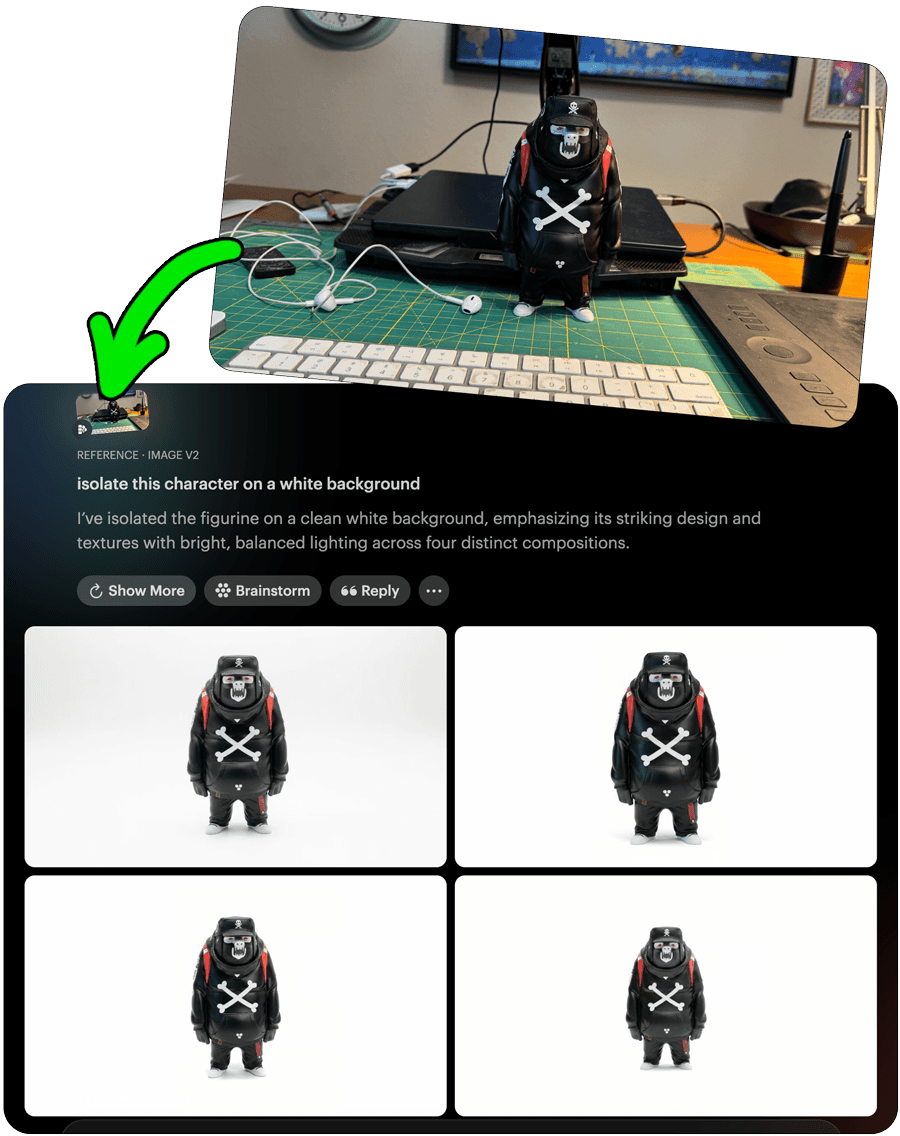
🔑 Tip: I find that it really helps when the subject is alone on a simple background, so, if my character reference image has a busy background, after steps 1️⃣ and 2️⃣, I prompt to "create an image of the character isolated on a white background" or "isolate this character on a white background" and then I drag one of those creations directly into my composer as my new character reference image.
———————————————
4️⃣ Describe The Changes
Now you can write your instructions to describe the changes you want to make to the subject's background, position or attributes.
🔑 Tip: Write your instructions in natural, commanding language and make sure you A. tell the model what to make. B. reference the subject. C. use a transformative verb, to tell the model what to do– in this case we're asking the model to create an image.
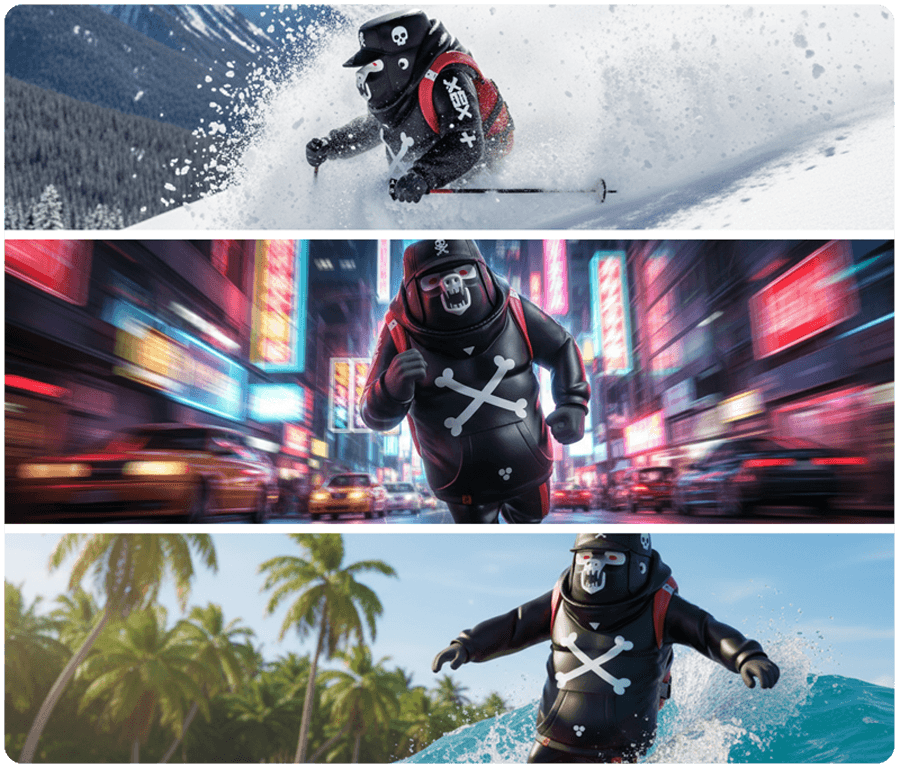
✅ Effective Reference Instruction Examples:
"make an image of this character skiing in the Swiss Alps"
"show me a dutch angle shot of this character running in a city, motion blur"
"create an image of this character surfing in Costa Rica"
❌ Ineffective Reference Instruction Examples:
"skiing in Swiss Alps"
"dutch angle, city, motion blur"
"character, surfing, Costa Rica"
———————————————
5️⃣ Multiple Reference Images
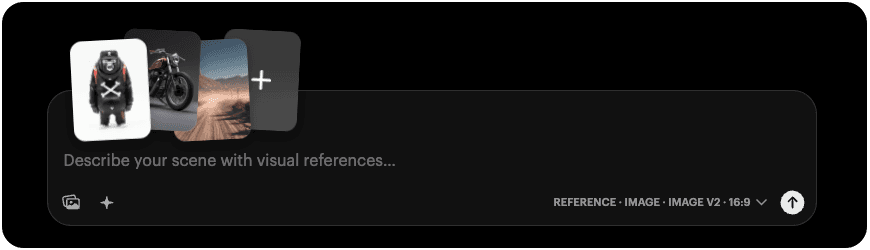
To use multiple reference images effectively, think about the relationship between all the reference images before you overload your composer with unrelated and disconnected images. In my experience it works best with 1-3 images (but if you prep them well you can use more!), so be selective and make sure your additions make sense, for example:
Reference #1: clear, unobstructed Character
Reference #2: clear, unobstructed Vehicle
Reference #3: fitting Background
or
Reference #1: clear, unobstructed Model
Reference #2: isolated, unobstructed Jacket
Reference #3: empty Room
🔑 Tip: If your reference images make sense together, you don't have to write instructions, you can upload multiple references and just let the model work, the model knows that it needs to combine them all into a cohesive output. If you want to direct it further with a written instruction, make sure you give it a clear command and address each reference image in your prompt.
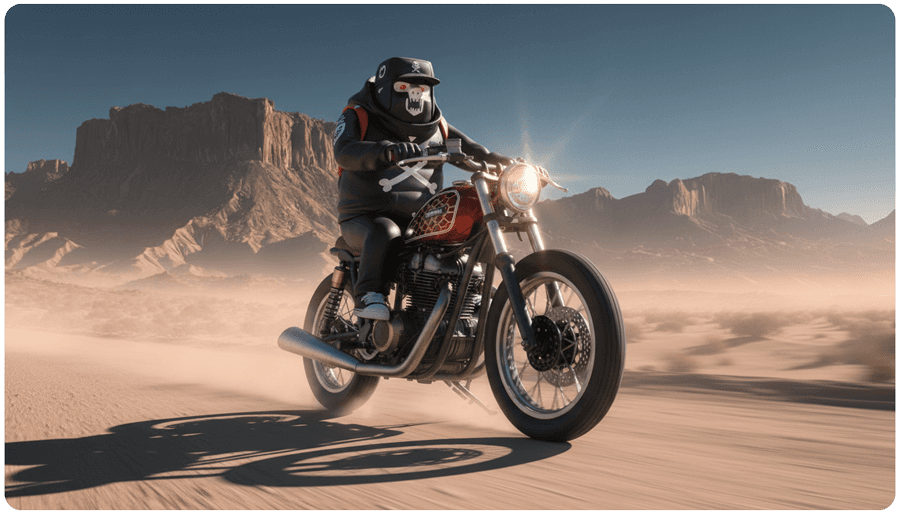
"combine all the images to make the character driving the motorcycle in the desert"